Luckily it is possible to remove bold text formatting in Word 2013 using almost the same method that was used to apply that formatting in the first place. We will also show you keyboard shortcut to add or remove bold formatting, as well as a button that can remove all of the formatting that has been applied to your selected text.
How to Un-Bold Text in Word 2013
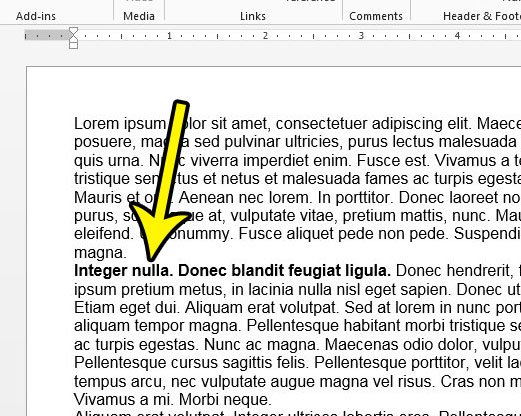
The steps in this guide are going to show you how to select bolded text and remove that bold formatting from the text. The result will be text in the base font style, size, and color, but without the bold formatting. Step 1: Open the document in Word 2013. Step 2: Select the bold text for which you wish to remove that bold formatting.
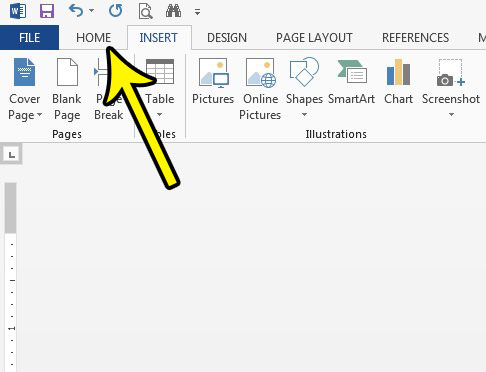
Step 3: Click the Home tab at the top of the window.
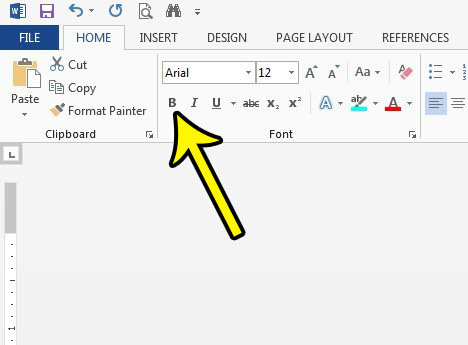
Step 4: Click the Bold button in the Font section.
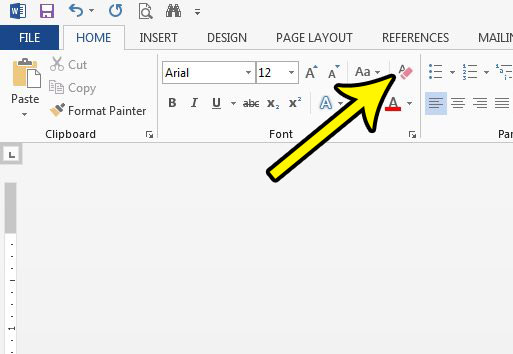
Note that you can also elect to click the Clear All Formatting button if you want to remove all of the formatting from the selected text.
Additionally, pressing Ctrl + B on your keyboard will allow you to bold or un-bold selected text. Do you need your document to have a background picture or a watermark, but you’re having trouble figuring out how to add one? Learn how to add a background picture in Word 2013 to achieve your desired effect. He specializes in writing content about iPhones, Android devices, Microsoft Office, and many other popular applications and devices. Read his full bio here.