While many of the documents that you create for work or school will consist solely of entering text directly into the body of the document, situations may arise where you need to make some creative formatting choice about your information. This is more common with things like newsletters or flyers where the visual appeal of the document is just as important as the information contained within it. But you may have found that changing the direction of your text by rotating it is quite difficult. Fortunately you can rotate text in Word by creating a text box, adding the text to that text box, then rotating the text box object. Our tutorial below will show you how to do this.
How to Rotate Text in Word for Office 365
Our article continues below with additional information on rotating text in Word, including pictures of these steps.
How to Rotate Text in Microsoft Word (Guide with Pictures)
The steps in this article were performed in the desktop version of Microsoft Word that’s a part of Office 365. However, these steps are also very similar in other versions of the Word desktop app. Notre that this method for rotating text in Word is going to require you to use a text box, as text that is added directly to the document can’t be rotated.
Step 1: Open Microsoft Word.
Step 2: Open an existing document in which you would like to rotate text, or create a new document.
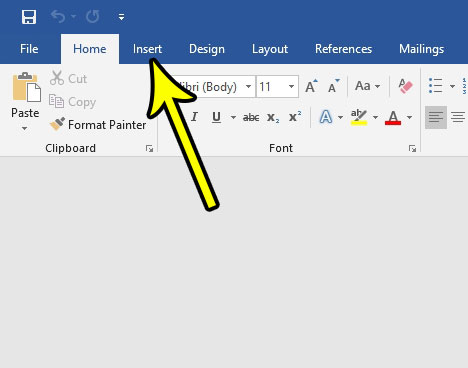
Step 3: Click the Insert tab at the top of the window.
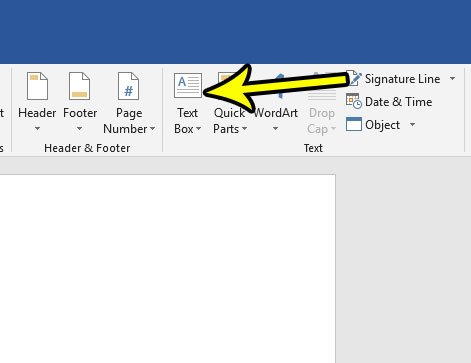
Step 4: Click the Text Box button.
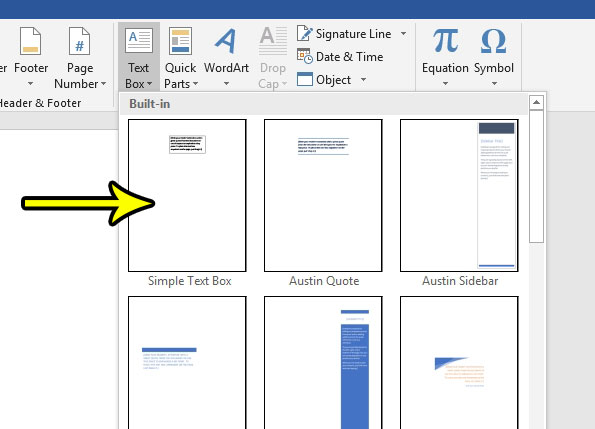
Step 5: Choose the Simple Text Box option.
You can choose one of the other pre-formatted text box options if you prefer.
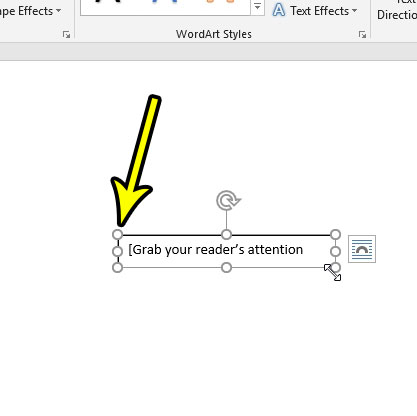
Step 6: Click on one of the circles on the corners of the text box and drag it to resize the box.
Note that you can elect to resize the text box later if your initial text box size is not correct.
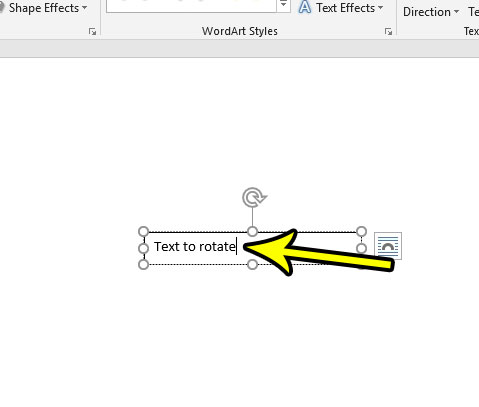
Step 7: Type the text that you would like to rotate into the text box.
You can format the text in the text box in the same manner that you would format text that you type directly into the document.
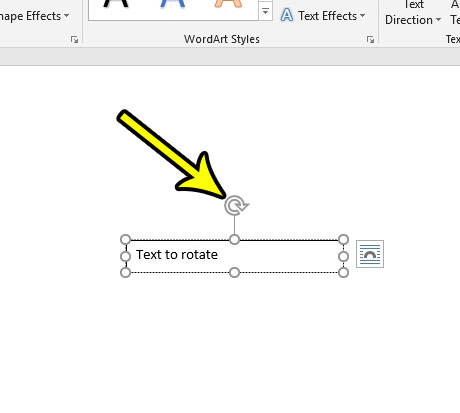
Step 8: Click the circular arrow at the top of the text box to rotate it.
If the text box is right at the top of the document, the circular arrow may not appear. In this case you may need to click on the border of the text box and drag it further down the document to make the circular arrow appear. If you aren’t able to rotate the text box because that circular arrow isn’t appearing, then you might need to select the text box first. You can do this by simply clicking on one of the text box borders.
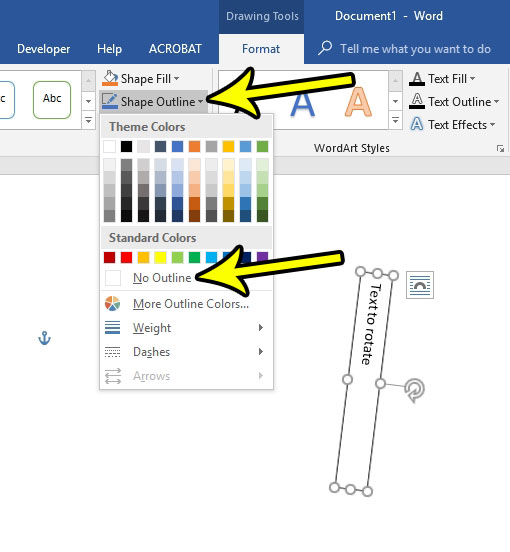
Step 9 (optional): Remove the text box border by clicking on the outline of the text box to select it as an object, then click the Format tab, followed by the Shape Outline button, then choose the No Outline option.
Conversely you can choose one of the other colors if you would like to keep the outline but make it a different color.
Tips on Rotating Text in Word
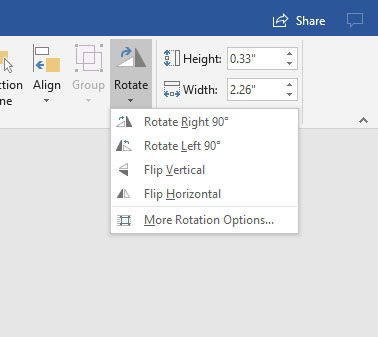
Removing the border from the text box requires you to click on a very small part of the text box. If you don’t see the Format tab appear, then you may not have clicked in the right spot. Try again, but be careful to click on the border of the text box. You can also elect to rotate the text box by clicking on the box, choosing the Format tab, then clicking the Rotate button and selecting one of the options on that dropdown menu. There are some limitations to the things that you can do in Microsoft Word when it comes to adjusting objects like this that aren’t an actual part of the document. If you find these limitations are too restrictive for what you are trying to do, then you may have more luck with a program like Powerpoint or Publisher. These programs handle text and other text-based items a little differently, and can provide the freedom that your job requires. This can be especially useful for things like newsletters or flyers that don’t adhere to the standard document layout for which Word is the most practical choice. You can copy and paste information from the current document, or other open files, in the same manner that you would otherwise copy and paste text. This can save you some time if you were planning to retype a large block of text that already exists somewhere else. As mentioned previously, you can also reformat text in a text box if it doesn’t currently look the way that you want. The majority of these formatting options are found on the Home tab. You can force your text to display on a single line by making the text box very thin and long. This can be useful if you are trying to display text vertically, with one letter on each line. If you are having trouble getting the layout that you want, then experimenting with one letter per line and different size text boxes can often help you achieve the desired result. Have you ever had Word close on your unexpectedly, or had your computer shut off, only to find that the document hadn’t saved in a while? Find out how to increase the autosave frequency in Word so that it is saving versions of your document more often.
Additional Reading
He specializes in writing content about iPhones, Android devices, Microsoft Office, and many other popular applications and devices. Read his full bio here.
